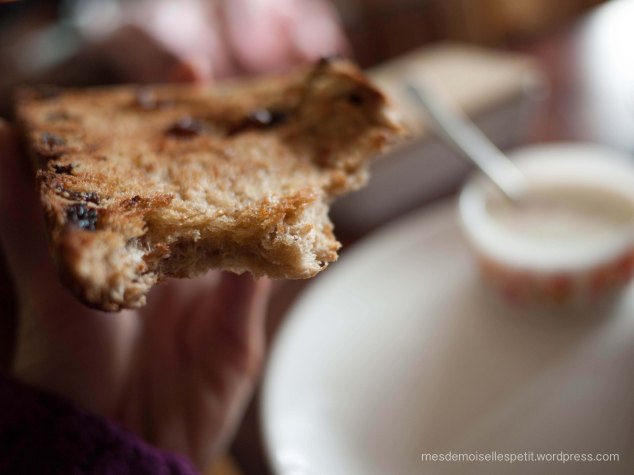
Easy peasy biscotti!

P1080899

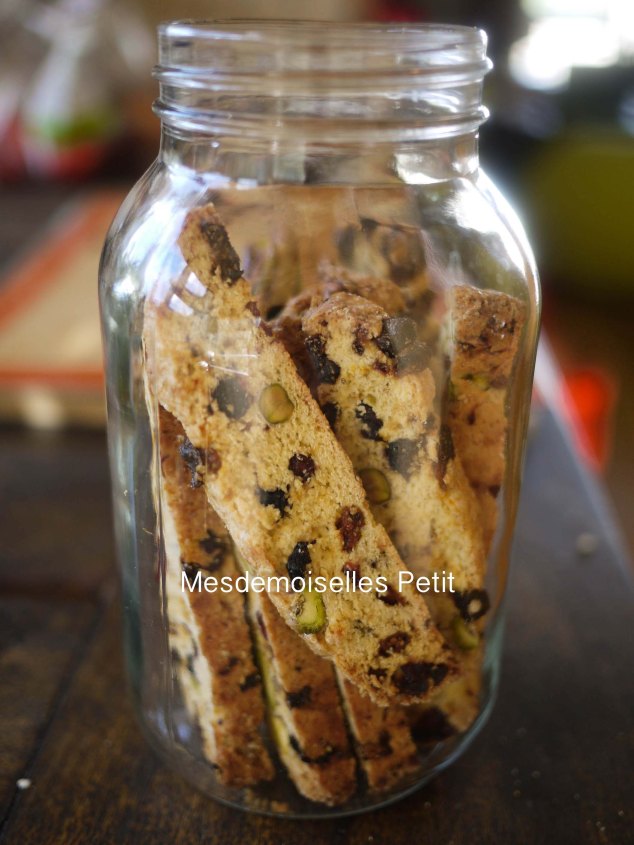
Coffee and biscotti are such a good friends. My coffee seems much happier when I have biscotti next to it, and so do I!

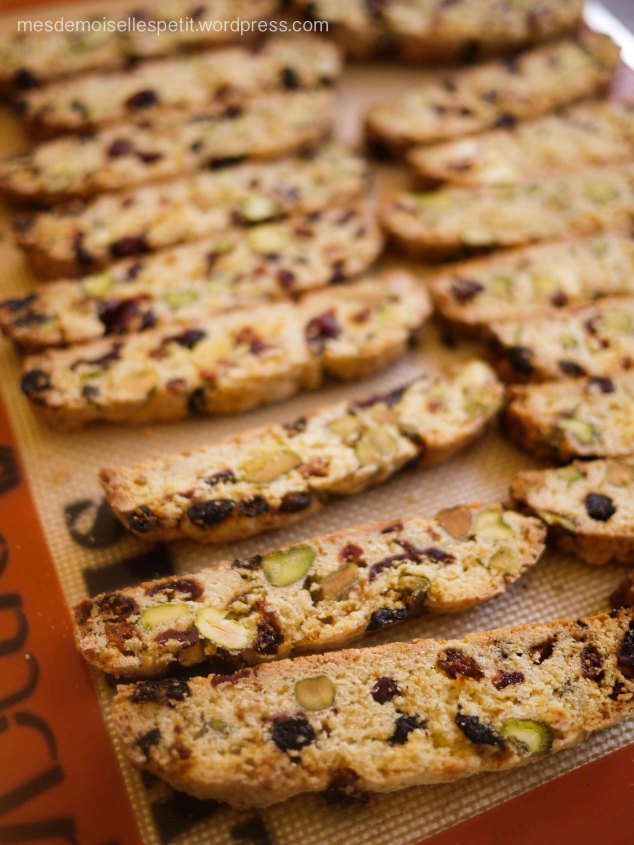
Biscotti is super easy to make. I love the fact that it doesn’t have any oil, so no mess and they’re healthy!  I posted a biscotti recipe with wild yeast in a previous post. This time I used baking powder. So you don’t need to wait. If you don’t have time to wait use this recipe!

P1080896

Biscotti  (makes approx. 18-20 sticks) 

70g of standard flour

100g of high grade/strong flour

30g of almond meal*

80g-100g of sugar

5g of baking powder

2 eggs beaten

a little bit of vanilla oil (optional)

80g of your choice of dry fruits (I used cranberries, blueberries, goji berries)

80g of whole almond or your choice of nuts (I used pistachio)

*You can replace almond meal with standard flour if you don’t have any

Method

  • Roast nuts in the oven at 150℃ for 10-15min. Soak dry fruits in warm water for 5-10min if needed, then drain off the water.
  • Put all the flours (flour, almond meal, sugar) in a bowl, mix them with a whisk.
  • Add the eggs and vanilla oil to the flours, along with the nuts and dry fruits.
  • Shape the dough into one big flat rectangle.  1.5-2cm thick.
  • Bake the dough in a preheated oven at 170℃ for 20 – 25min.
  • Let the dough cool a bit and slice it 1cm thick. Put each slice on on a baking sheet, sliced side up, bake them in the oven at 160℃ for 15min. (careful not to burn)
  • Let the biscotti cool in the oven.
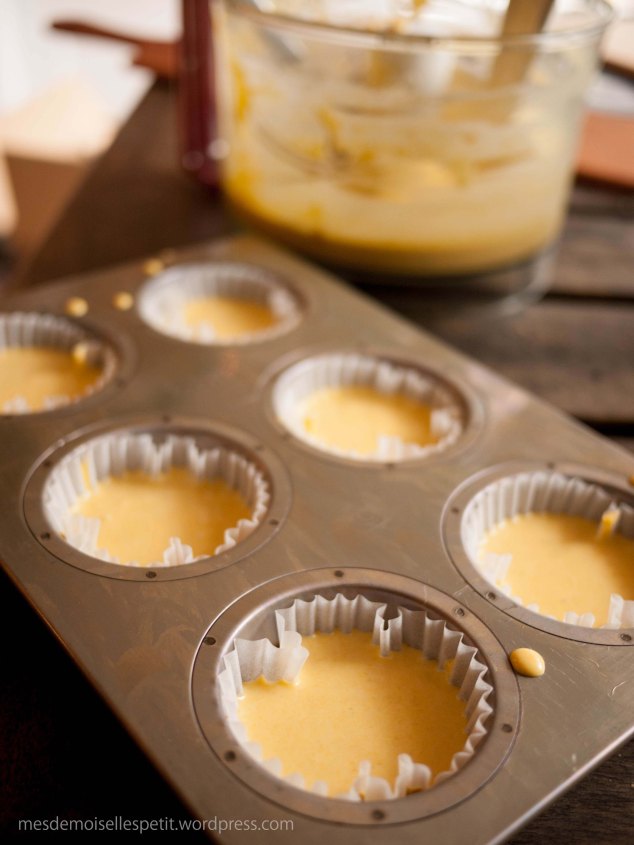
Quick Pumpkin Cheese Cakes

P1080014 P1070993

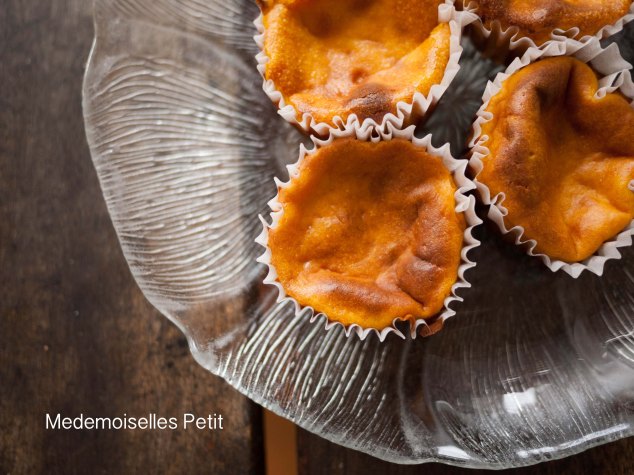
Super easy ”cup cheese cake”. I love cheese cake but unfortunately the rest of my family don’t nearly as much! Why??

Never mind. I still make it for myself. It’s kind of nice as I can put whatever I want without any disagreement. So I put my favourite vegetable, pumpkin! Just put everything in a food processor and whiz for a while until combined well and ready to bake. Super easy!

The taste was….well It was yummy but a bit too soft. I will try again and post the recipe for Halloween!

Wild yeast raisin mountain loaf with molasses

P1070974

I haven’t had time to update my blog in a while as all my time was taken up with all the things happening back in Japan, with the elections, the Olympics and other bad news…

Now I need something to cheer me up so I am back to my blog and baking!

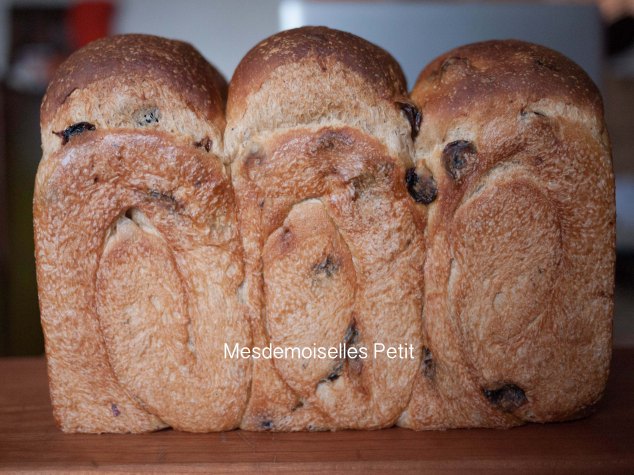
First, I wanted to share this recipe – it’s my favourite raisin bread.

P1070983

I used molasses instead of sugar for this bread as it gives you a really nice dark colour, extra richness and depth of flavour.

A generous knob of cultured butter melting on top of a thick slice of this raisin bread is just heavenly. It smells gorgeous when toasted!

Raisin loaf with molasses

450g of high grade/strong flour

8g of salt

a little bit of cinnamon, nutmeg and clove powder

9g (1 tbsp) of powdered milk

180g of wild yeast starter  [40%]

37g of molasses [8.2%]

150g of milk *

100g of almond milk *

55g of water *

*liquid is 305g in total  [68%] you can replace almond milk with any kind of milk

45 g of unsalted butter [10%]

180g of raisins (soak in warm water for 10 min and drained)

Method

  • Put all the ingredients in a large bowl except for the butter and the raisins. Knead for 15 min.
  • Add the butter. Knead again until the dough becomes shiny. (app. 5-10 min)
  • Add the raisins. Combine them well into the dough.
  • Cover the dough with cling film or a wet tea towel and let it rise in a warm place for about 4 hours. (until it doubles in size)
  • Divide the dough into three. Shape it into balls.  Rest the balls for 15 min covered with cling film or a wet tea towel.
  • Shape each ball and put it in a loaf tin. (I’m sorry I can’t explain well without the photos! Search “how to shape mountain loaf” and you can find a lot of web sites explaining.)
  • Let it rise in a warm place for 1.5- 2h until the dough fills 80% of the tin.
  • Preheat the oven to 200℃, 20 min before finishing the final rise.
  • Spray water on the dough generously and bake it in the oven at 190℃ for 30-35min. (In the last 15 min, you might need to put foil on top if the top starts to get too dark)