Holiday pizza lunch with friends

P1080957

Pizza!!

The school holidays just started here in New Zealand so we had a friend over for lunch! At my medemoiselles request I made pizza.

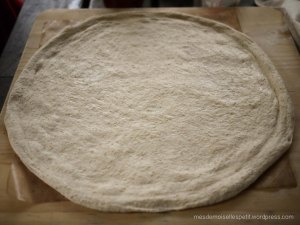
Since I started making pizza dough myself, I haven’t bought any pre-made pizza base. Pizza dough is very simple and you can get super satisfying results! I’ve been making pizzas a few times recently, especially after we bought a pizza stone. If you love making pizza and haven’t got a pizza stone, I strongly recommend it. The result with a pizza stone was great. You get a super crispy bottom and puffed up edges! I think a tip for baking good pizza at home is temperature. I preheat the oven as high as I can. With a super hot pizza stone my pizza bakes super quickly.

The first pizza was a margarita. “Simple is the best”. Simple but good quality ingredients make all the difference. Good pizza sauce, sweet cherry tomatoes, and most importantly fresh mozzarella!!

I put left over salami and olives on a half side too.

P1080958

The second pizza was Prosciutto and Salad (I didn’t have any rocket!). After baking a basic pizza, add some prosciutto and salad. I love rocket with this pizza.

P1080963

Normally, (not this time) my mesdemoiselles love making their own pizza. They make faces with the ingredients and have lots of fun.

Home made pizza is great as you can throw anything on it. I normally throw left over veggies from the fridge if it’s not for guests. 😀

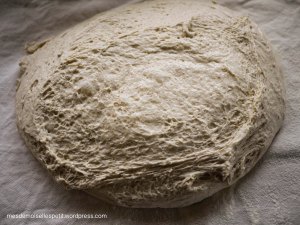
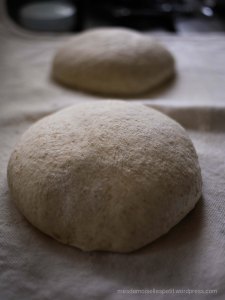
Pizza dough ( makes 3 big pizzas)

400g of high grade/strong flour

70g of hole meal flour

30g of rye flour

150g of wild yeast stater [30%] – recipe here *

* You can replace to 2/3 tsp of instant dry yeast.

10g of salt [2%]

375g of lukewarm water [75%]

P1080801

P1080804

P1080807

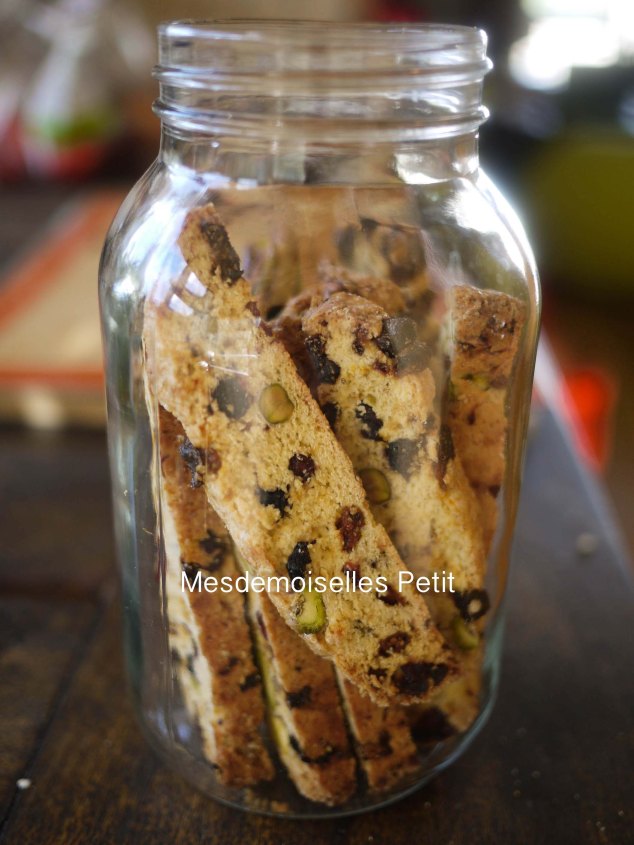
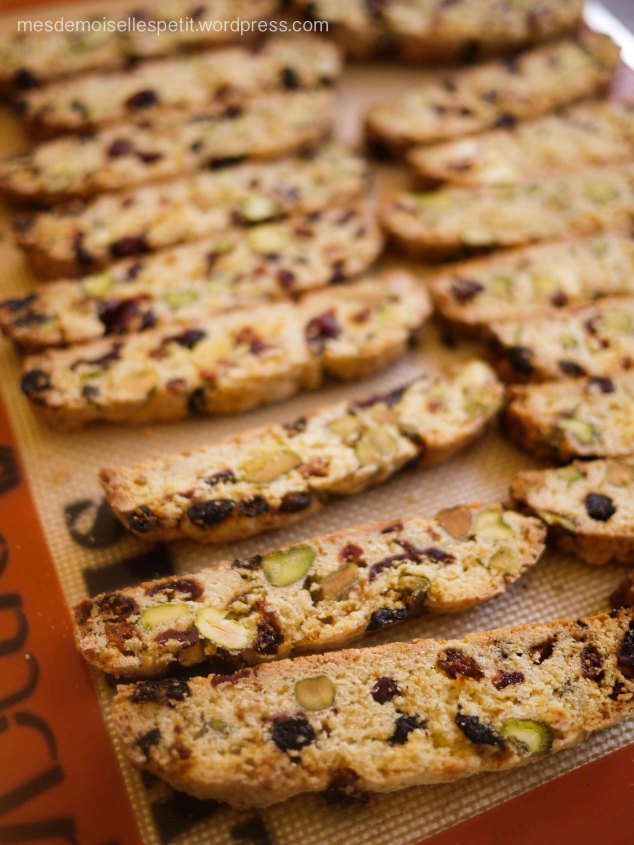
Easy peasy biscotti!

P1080899

Coffee and biscotti are such a good friends. My coffee seems much happier when I have biscotti next to it, and so do I!

Biscotti is super easy to make. I love the fact that it doesn’t have any oil, so no mess and they’re healthy!  I posted a biscotti recipe with wild yeast in a previous post. This time I used baking powder. So you don’t need to wait. If you don’t have time to wait use this recipe!

P1080896

Biscotti  (makes approx. 18-20 sticks) 

70g of standard flour

100g of high grade/strong flour

30g of almond meal*

80g-100g of sugar

5g of baking powder

2 eggs beaten

a little bit of vanilla oil (optional)

80g of your choice of dry fruits (I used cranberries, blueberries, goji berries)

80g of whole almond or your choice of nuts (I used pistachio)

*You can replace almond meal with standard flour if you don’t have any

Method

  • Roast nuts in the oven at 150℃ for 10-15min. Soak dry fruits in warm water for 5-10min if needed, then drain off the water.
  • Put all the flours (flour, almond meal, sugar) in a bowl, mix them with a whisk.
  • Add the eggs and vanilla oil to the flours, along with the nuts and dry fruits.
  • Shape the dough into one big flat rectangle.  1.5-2cm thick.
  • Bake the dough in a preheated oven at 170℃ for 20 – 25min.
  • Let the dough cool a bit and slice it 1cm thick. Put each slice on on a baking sheet, sliced side up, bake them in the oven at 160℃ for 15min. (careful not to burn)
  • Let the biscotti cool in the oven.

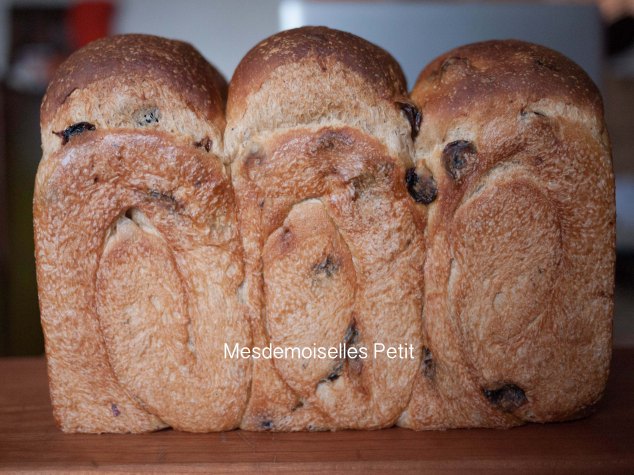
Wild yeast raisin mountain loaf with molasses

P1070974

I haven’t had time to update my blog in a while as all my time was taken up with all the things happening back in Japan, with the elections, the Olympics and other bad news…

Now I need something to cheer me up so I am back to my blog and baking!

First, I wanted to share this recipe – it’s my favourite raisin bread.

P1070983

I used molasses instead of sugar for this bread as it gives you a really nice dark colour, extra richness and depth of flavour.

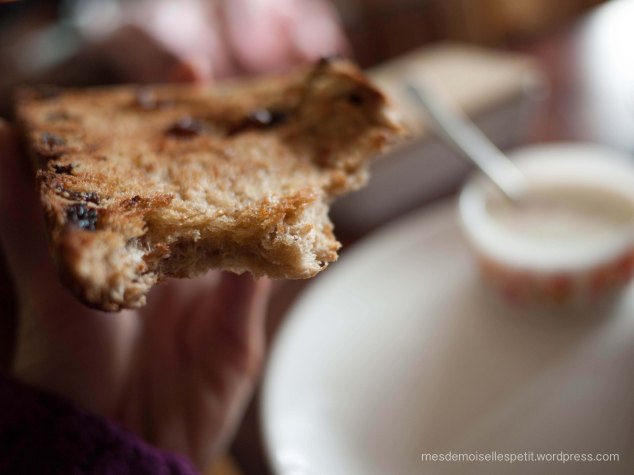
A generous knob of cultured butter melting on top of a thick slice of this raisin bread is just heavenly. It smells gorgeous when toasted!

Raisin loaf with molasses

450g of high grade/strong flour

8g of salt

a little bit of cinnamon, nutmeg and clove powder

9g (1 tbsp) of powdered milk

180g of wild yeast starter  [40%]
37g of molasses [8.2%]
150g of milk *

100g of almond milk *

55g of water *

*liquid is 305g in total  [68%] you can replace almond milk with any kind of milk

45 g of unsalted butter [10%]

180g of raisins (soak in warm water for 10 min and drained)

Method

  • Put all the ingredients in a large bowl except for the butter and the raisins. Knead for 15 min.
  • Add the butter. Knead again until the dough becomes shiny. (app. 5-10 min)
  • Add the raisins. Combine them well into the dough.
  • Cover the dough with cling film or a wet tea towel and let it rise in a warm place for about 4 hours. (until it doubles in size)
  • Divide the dough into three. Shape it into balls.  Rest the balls for 15 min covered with cling film or a wet tea towel.
  • Shape each ball and put it in a loaf tin. (I’m sorry I can’t explain well without the photos! Search “how to shape mountain loaf” and you can find a lot of web sites explaining.)
  • Let it rise in a warm place for 1.5- 2h until the dough fills 80% of the tin.
  • Preheat the oven to 200℃, 20 min before finishing the final rise.
  • Spray water on the dough generously and bake it in the oven at 190℃ for 30-35min. (In the last 15 min, you might need to put foil on top if the top starts to get too dark)

Bagels bagels bagels!!

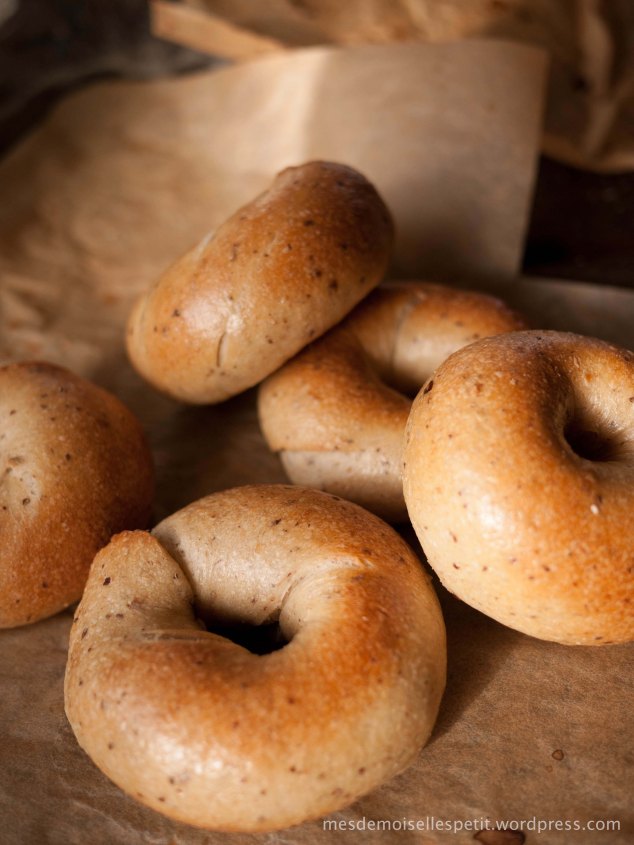
P1080052

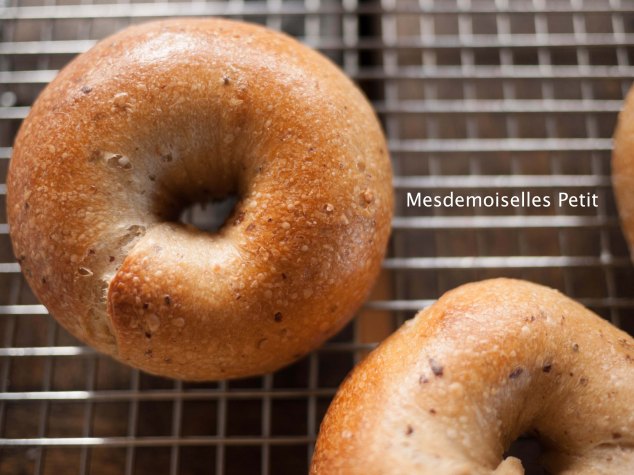
Bagels! Yes I love them. I really do. But I haven’t made them in a while. Maybe it’s because of the many steps involved. But once you start it’s actually not that bad and I do enjoy it. And with bagels you can really enjoy experimenting, playing around with the dough and fillings and toppings.

This time I made simple ones for sandwiches. Whole meal bagels with LSA powder (Linseeds, Sunflower seeds, Almonds). I was going to put some linseeds on top but I completely forgot. I do this sometimes, completely forgetting to sprinkle the toppings.  After boiling the bagels, you need to be quick to put them in the oven. So after boiling them, all I am thinking about is putting them in the oven… quite literally! You could also say I am simply forgetful. 🙂

P1080055

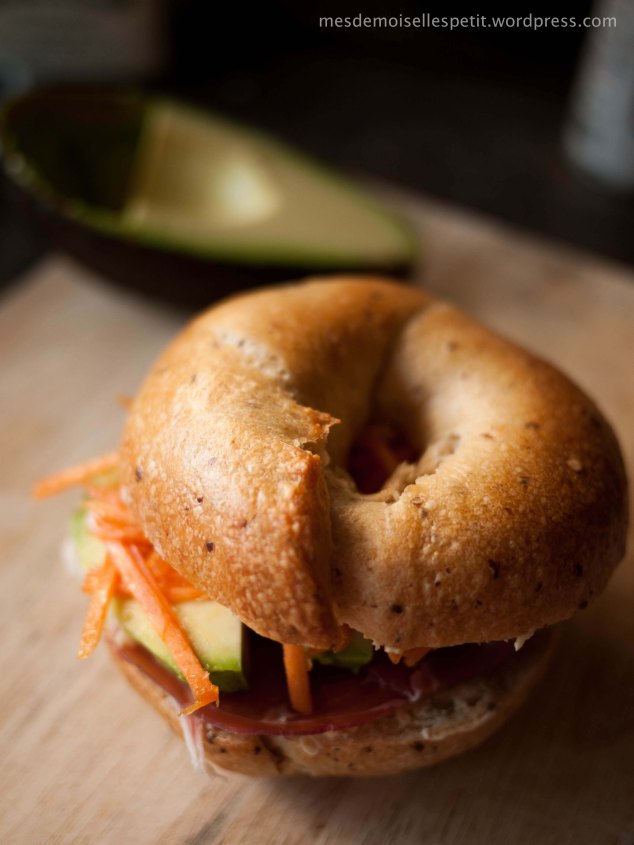
This time I made sandwiches with some prosciutto, avocado and carrot salad. The carrot salad gives you crunchiness and freshness and cheering colour to your sandwiches.

P1080062

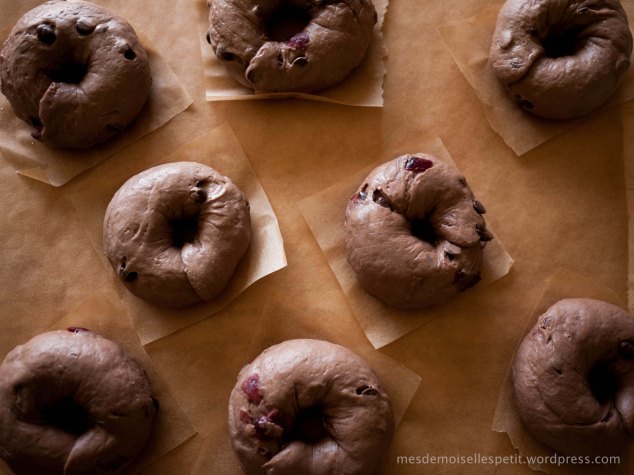
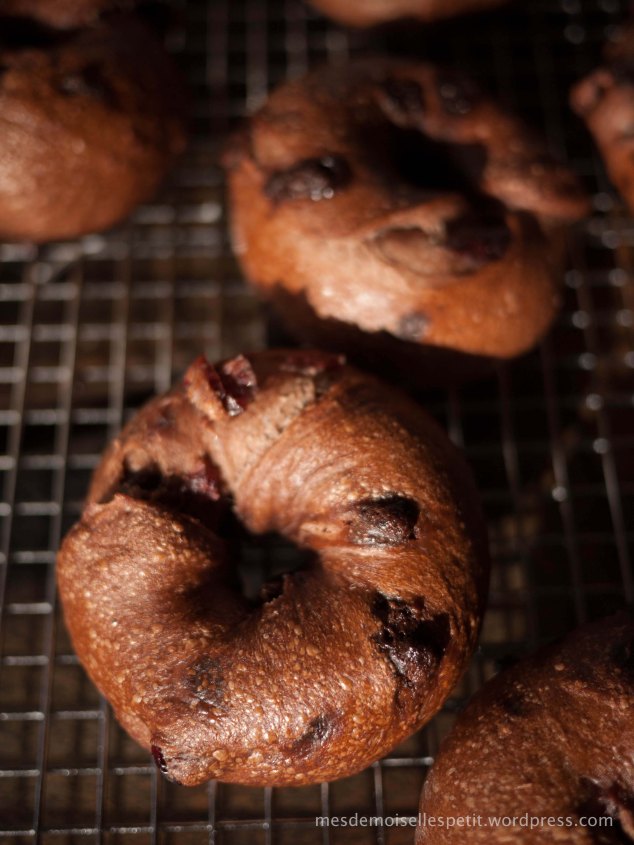
Also, I made chocolate bagels with cranberries! These are mini size so I could have two  for snacks. Maybe I should have rolled the chocolate chips inside, instead of mixing it with the dough. I was worried when I was boiling them that the chocolate might stick out and melt, but it was ok. The cranberries worked better than I expected. I love a bit of sourness in sweets. For these, I used the apple yeast which I blogged about in the previous post! It did a great job. I am not sure I could taste the apple though.

P1080045

P1080060

<Bagels with LSA>

210g of High grade/ Strong flour

30g of Whole meal flour

10g of LSA (linseeds, Sunflower seeds, Almond powder)

3g of Salt

8g of Honey

80g of  wild yeast starter   [30%]

50g of lukewarm water and 80g of soy milk  [52%]

Method :

  • Mix all the ingredients and knead well until it’s smooth.
  • Let the dough rise in a warm place until it nearly doubles. (You can skip this process if you wish to get firm bagels, I sometime skip this when I eat bagels straight from the oven)
  • Divide the dough in four (mini-size six) and rest them for 20 min under cover.
  • Shape the dough into bagel shapes. Let them rise in a warm place for 1.5 hours. Make sure they are covered to prevent them from drying up.
  • Preheat the oven at 190℃.
  • Boil 2L of water in a wide pan or frying pan with a teaspoon of sugar or honey. (once boiling, turn the fire down to medium heat, and bring the water down to a simmer)
  • Boil the bagels upside down for 30 seconds then turn them over, for another 30 seconds.
  • Quickly place them on the baking sheets and put them in the oven. (When you have topping, sprinkle on top)  Bake it for 18 min at 190℃.

<Chocolate and Cranberries bagels>

240g of High grade/ Strong flour

10g of unsweetened cocoa powder

15g of brown suger

50g of lukewarm water and 80g of soy milk  [52%]

80g of  wild yeast starter   [30%]

Method : the same as the bagels with LSA

This post is submitted to YeastSpotting.

Apple power

P1070971

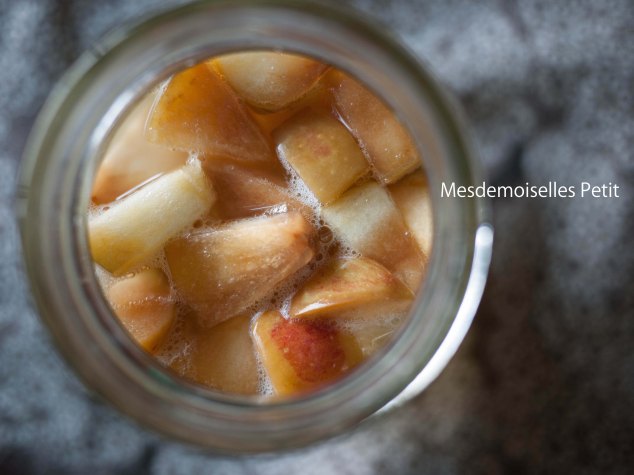
Introducing my new wild yeast. It’s apple yeast! This one smells soooo nice. It’s just like apple cider.

The method is simple and easy, the same as the raisins (or prunes) yeast.  One  chopped up apple, skin on and core and seeds everything, and some water and a teaspoon of honey. (Do not use Manuka honey – the anti-bacterial properties of it prevent fermentation. You can also use sugar if you prefer.) AND if you have already made liquid yeast like me (previous raisins one), add a tea spoon of that. It will develop faster! So I make new liquid just before I finishing off the previous one.

I am making starter with this apple yeast at the moment and it’s looking good! Can’t wait to bake some goodies with this yeast.  😀

Mini baguette sandwich for mini people.

P1070923m

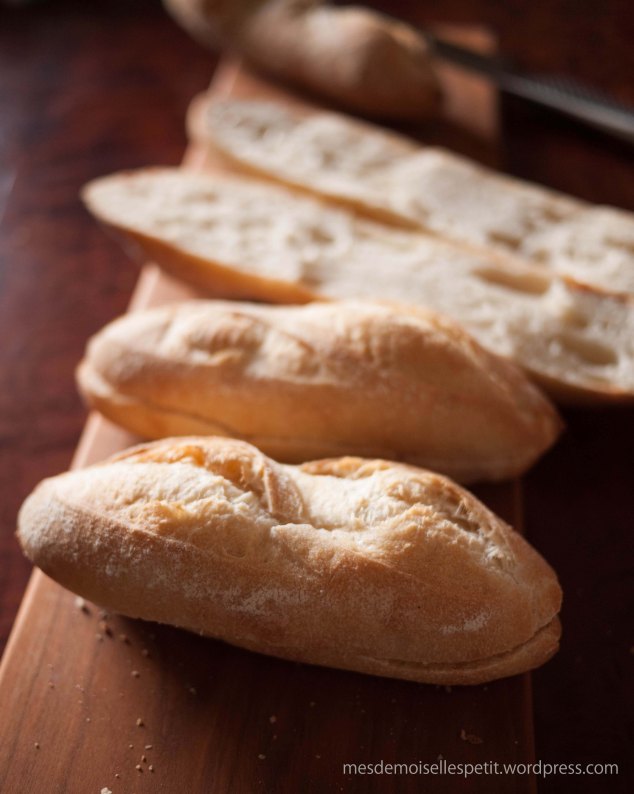
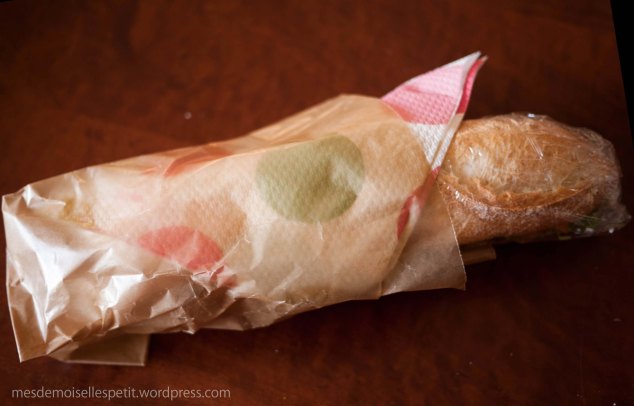
I made these mini baguettes for my mesdemoselles’ school lunch. They love baguettes, especially my older one. I added a little bit of butter in the dough to make it a bit softer for them, but I didn’t find much difference to be honest. Maybe I didn’t add enough? I think my normal baguette recipe is better after all.

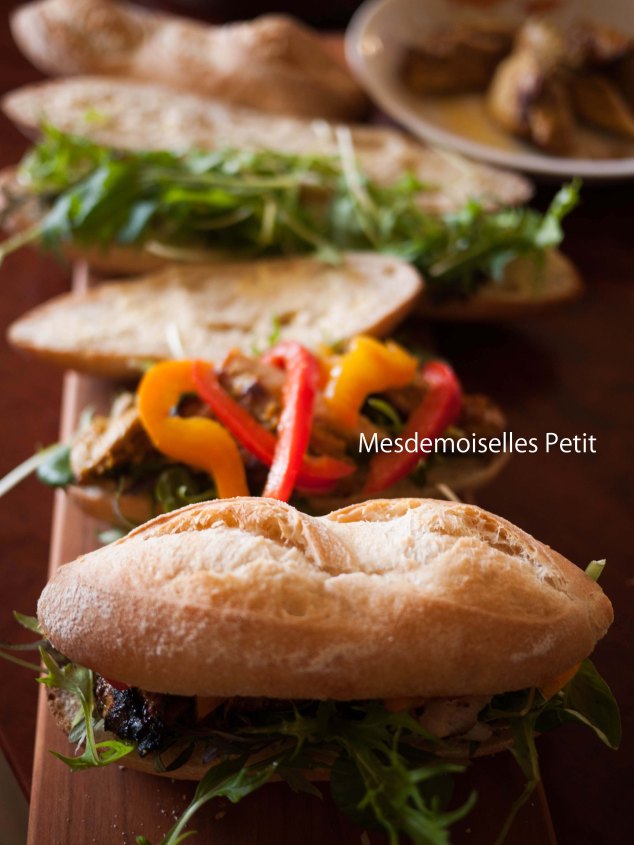
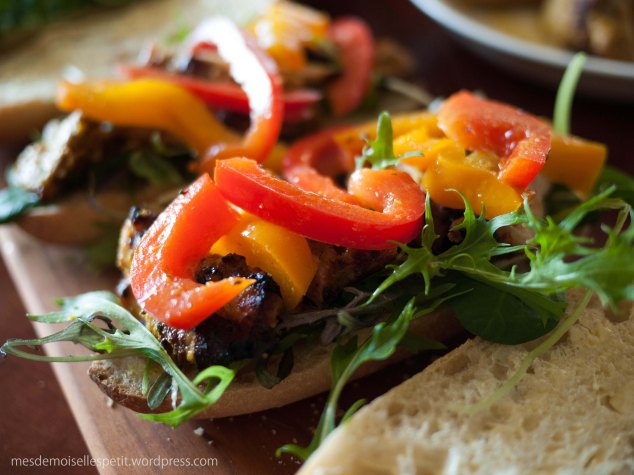
This time I made “Tandoori chicken with roast peppers sandwich”. This filling is great with hard (not soft) bread.

P1070902

P1070914

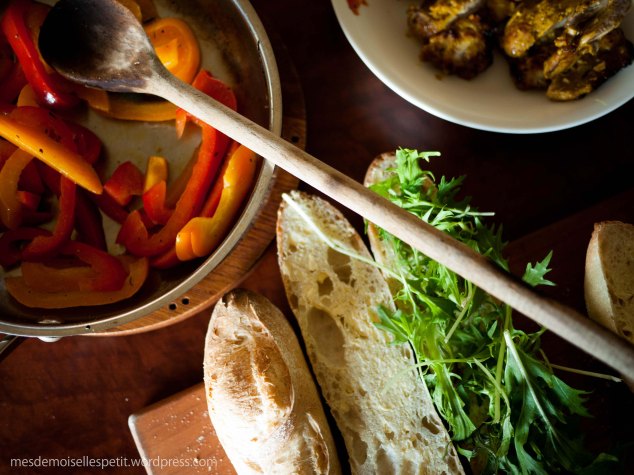
I like using a couple of different coloured capsicums, it’s so cheerful and delicious  for the eyes.

P1070921

Tandoori chicken and roasted peppers sandwich

some baguettes (recipe is here!) for sandwiches

some green salad

for the tandoori chicken

4 chicken thigh fillets

2 tbsp of unsweetened natural yoghurt

1 or 2 tsp of curry powder

1 or 2 tsp of tomato paste (tomato sause)

1/2 tsp of salt

some cumin powder

some coriander powder

some cardamon powder

some chili powder or flakes (I didn’t use this as we have little people)

1 tsp of lemon juice

1 tsp of grated garlic

1 tsp of grated ginger

Method: Stab the chicken thigh fillets a few times with a fork. Put all the marinade ingredients together and marinate the chicken for a few hours. Grill the chicken until it’s cooked through.

for the roast peppers

1 capsicum or 1/2 of two different coloured capsicums (sliced)

1 tbsp of olive oil and some salt and pepper to taste

Method : Heat olive oil in a pan, add capsicum and saute them for a couple of minutes. Salt and pepper to taste.

P1070925

Natural Yeast Starter – photos

P1070950-2

P1070910

Finally I took photos! There we go, this is how I make starter using my previous liquid yeast.

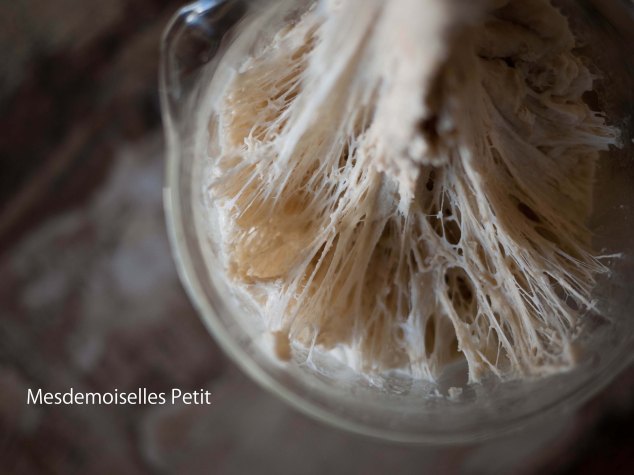
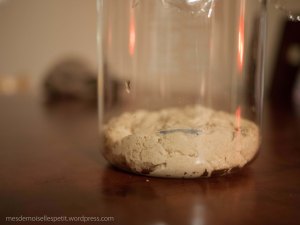
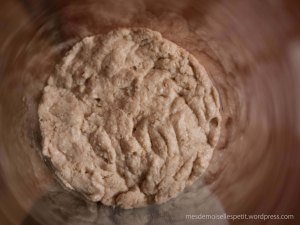
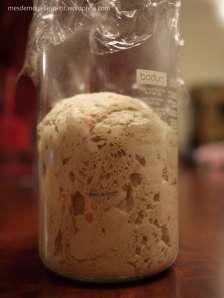
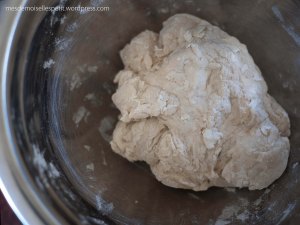
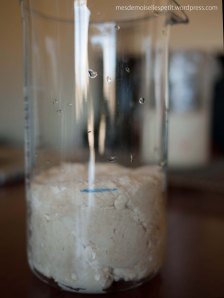
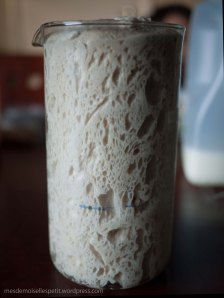
Day 1 :  Sterilise a glass jar (I use a coffee plunger glass) by slowly pouring some boiling water from the edge.  Mix 120g of whole meal four and 100g of liquid yeast in a bowl and put it in the jar.

P1070828   P1070831

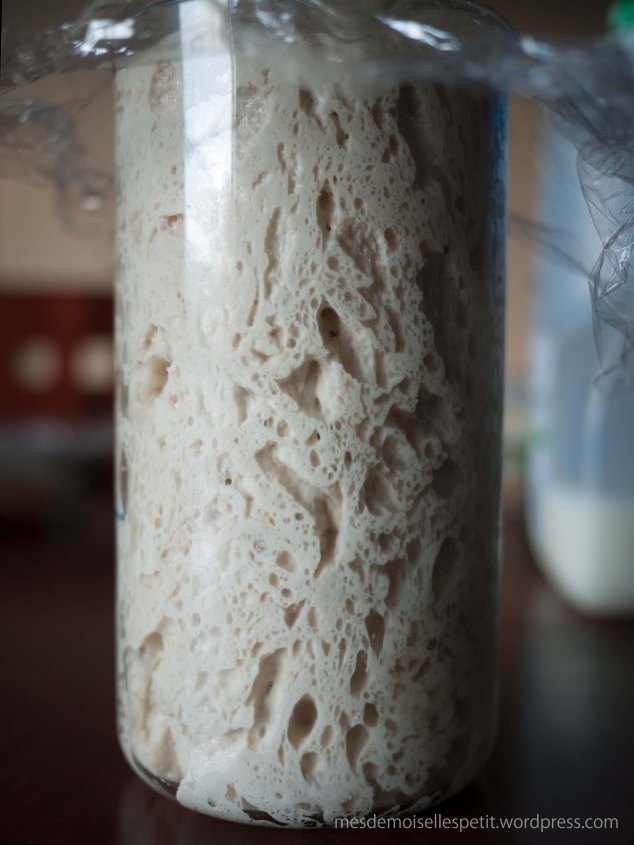
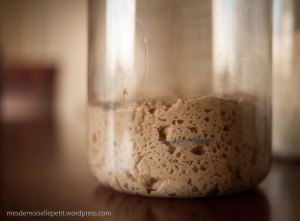
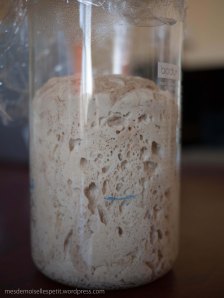
Cover with cling wrap and leave it in a warm place until it doubles up. (approximately 5-6h depending on the ambient temperature)

5-6 hours later ↓

P1070833-2

Once it doubles in volume, put it in the fridge till the next day.

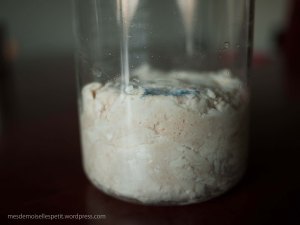
Day 2 : Take the starter into a clean bowl, add 150g of high grade/strong flour and 80g of lukewarm water and mix it by hand until just combined. (no need to knead. It’s ok if it’s still a little bit powdery and lumpy.)  Put the starter mixture back in the jar and leave it covered in a warm place until it doubles up.

P1070848

5-6 hours later ↓

P1070861

When it doubles in volume, put it in the fridge till the next day.

Day 3 : Put the starter into a clean bowl, add 50g of high grade/strong flour and 25g of lukewarm water (flour 2: water 1) and mix it by hand until just combined. (no need to knead. It’s ok if it’s still a little bit powdery and lumpy.) Put the starter mixture back in the jar and leave it covered in a warm place until it doubles up.

P1070880  P1070881

5 hours later ↓

P1070878

When it doubles up in volume, put it in the fridge till the next day.

Voila!! The starter develops more in the fridge and is ready to use!

P1070912

You can keep feeding this starter and keep it going for a couple of months. Repeat the day 3 process every 2-3 days or when using the starter to make bread.

My little helper – I always use a whiteboard marker to mark the glass jar. It’s much easier to see how much the starter has developed. Very useful item for my bread making. 😀

P1070885

Wild Raisins Yeast – photos

P1070395

I made a new batch of wild yeast using raisins and this time I didn’t forget to take some photos! I wrote how to make wild yeast starter in a previous post “Organic Prune Yeast”  but I didn’t have pictures. I think the photos are really helpful for those of you who have never made wild yeast – I was really unsure when I made wild yeast for the first time.

Raisins are the easiest dry fruits to make wild yeast from. But make sure you have “non oil-coated” raisins. You can check at the back of your raisins package. If it says “sunflower oil” (or any kind of oil) on the ingredients list, that’s oil coated. If you can not find non-oil coated raisins, you can use other fruits. You can also use fresh fruit (ex. apple, pear etc) – it’s a bit more difficult but you can try. Just add a tea spoon of honey or sugar when you use fresh fruit.

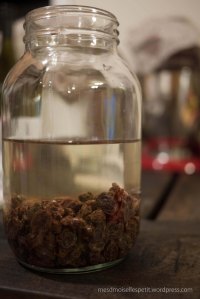
Day 1  :  Add 240g of lukewarm water and 80g of raisins (without oil coating nor preservatives) [water 3: fruits 1]* in a sterilized glass jar. Leave it in a warm place for 3 to 10 days (it depends on ambient temperature), shaking it a little and opening the lid every day at the same time. I do it in the morning. (I check the smell as well.)

* I used to put (raisins 3: water 1) by mistake and now I correct it. I apologise to those of  you who tried to make this raisins yeast with old post!!

P1070299

Day 2 :  Raisins start float a little. Smell hasn’t changed much.

P1070370

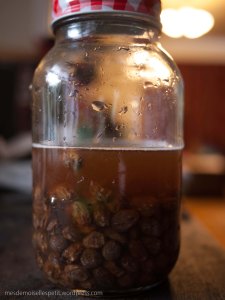
Day 3 : Half of the raisins are floating. It smells sweet. (If it smells unpleasant, that’s bad. The smell should never be unpleasant.)

P1070306

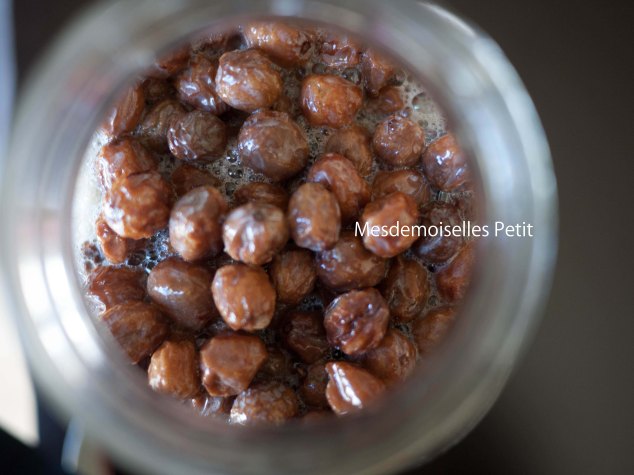
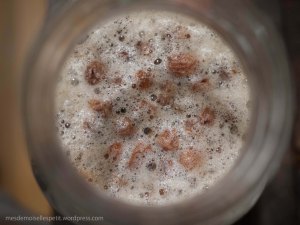
Day 4 : When you shake the jar and open it, it will pop or fizz as you let out some of the gas, like when you open a beer. Lots of small bubbles. Smell like sweet wine. Yeast has developed! I keep it out for one more day.

P1070397 P1070391

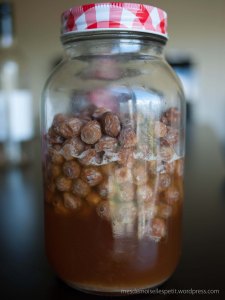
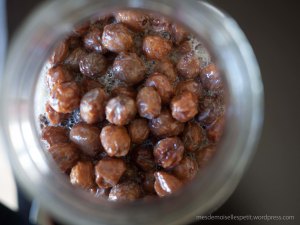
Day 5 : Without shaking the jar, you can see all the rasins are floating on the water. It’s ready to use. You can keep this in the fridge for up to one or two months.

P1070393 P1070395m1

Next time I will post lots of photos showing how to make the starter (leaven) from this liquid yeast.

I hope you find this helpful!

Apple raisin cinnamon rolls

P1070695

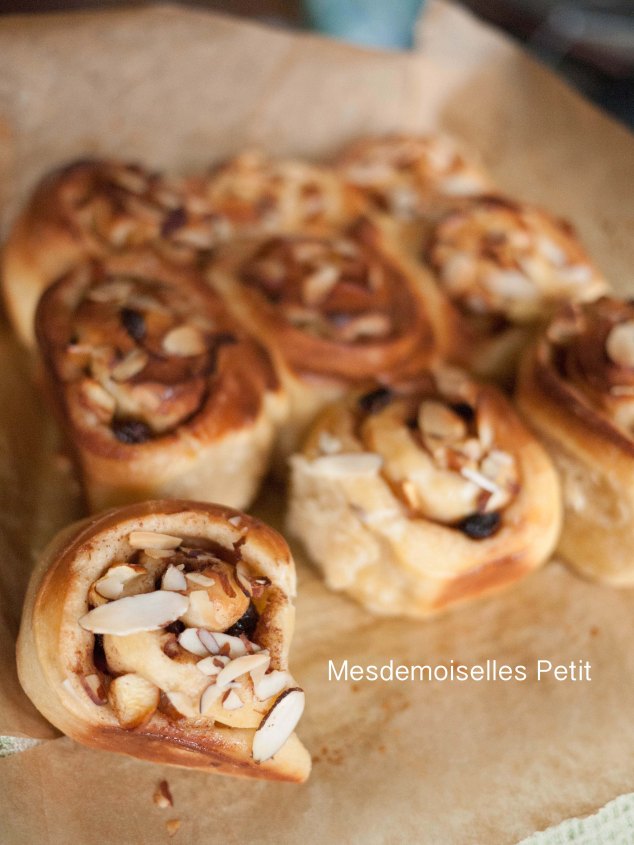
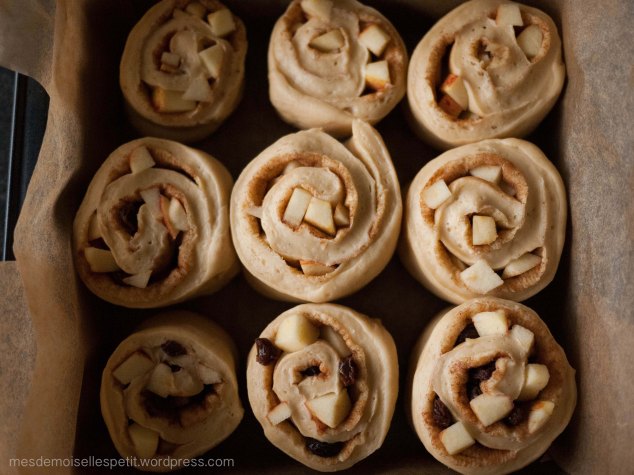
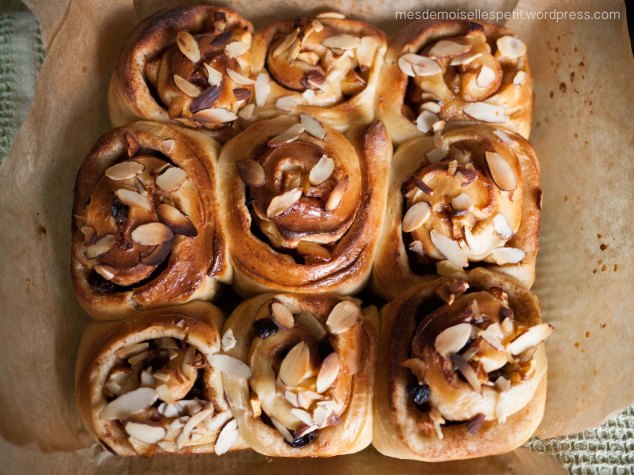
The other day I had a raisin cinnamon roll at a cafe near our place. It was so fluffy and rich and tasty and sweet. That made me crave cinnamon rolls for a little while. I wanted to make them by myself and tried to copy their yummy rolls. I used my brioche dough for these rolls. Lots of butter and milk and eggs. Yeah, it’s rich. But don’t worry, I am not going to eat them all by myself and not going to make this that often. So it’s ok….

I also added diced apples with raisins just because I had a lot of apples left in the kitchen.

Oh, they turned out to be super yummy rolls! Rich but not too heavy and sweet but just sweet enough for my taste!

P1070686

Apple raisin cinnamon rolls  (makes 9 rolls)

250g of High grade/ Strong flour

125g of Wild yeast starter (leaven) – recipe here

4g of Salt

25g of Brown sugar

162g of Milk plus 1 Egg

75g of Unsalted butter

Fillings

1 Apple (chopped in small dice)

Some dry raisins (soaked in hot water for 10 min, drained)

some softened butter to spread

some Cinnamon powder and sugar to sprinkle

some sliced almonds

P1070689

This post is submitted to YeastSpotting.

Chausson aux pommes!

P1070707

P1070702

Yummy yummy apple pie!

I cheated.  Yes, I didn’t make this pastry by myself. It’s shop bought, frozen one. So I just put easy apple compote inside, just normal, apple cooked with sugar and lemon, bit of cinnamon powder and butter. It was fun to shape them!

I’d love to try to make pastry by myself one day. Maybe not just yet but one day. One day soon I hope.   🙂